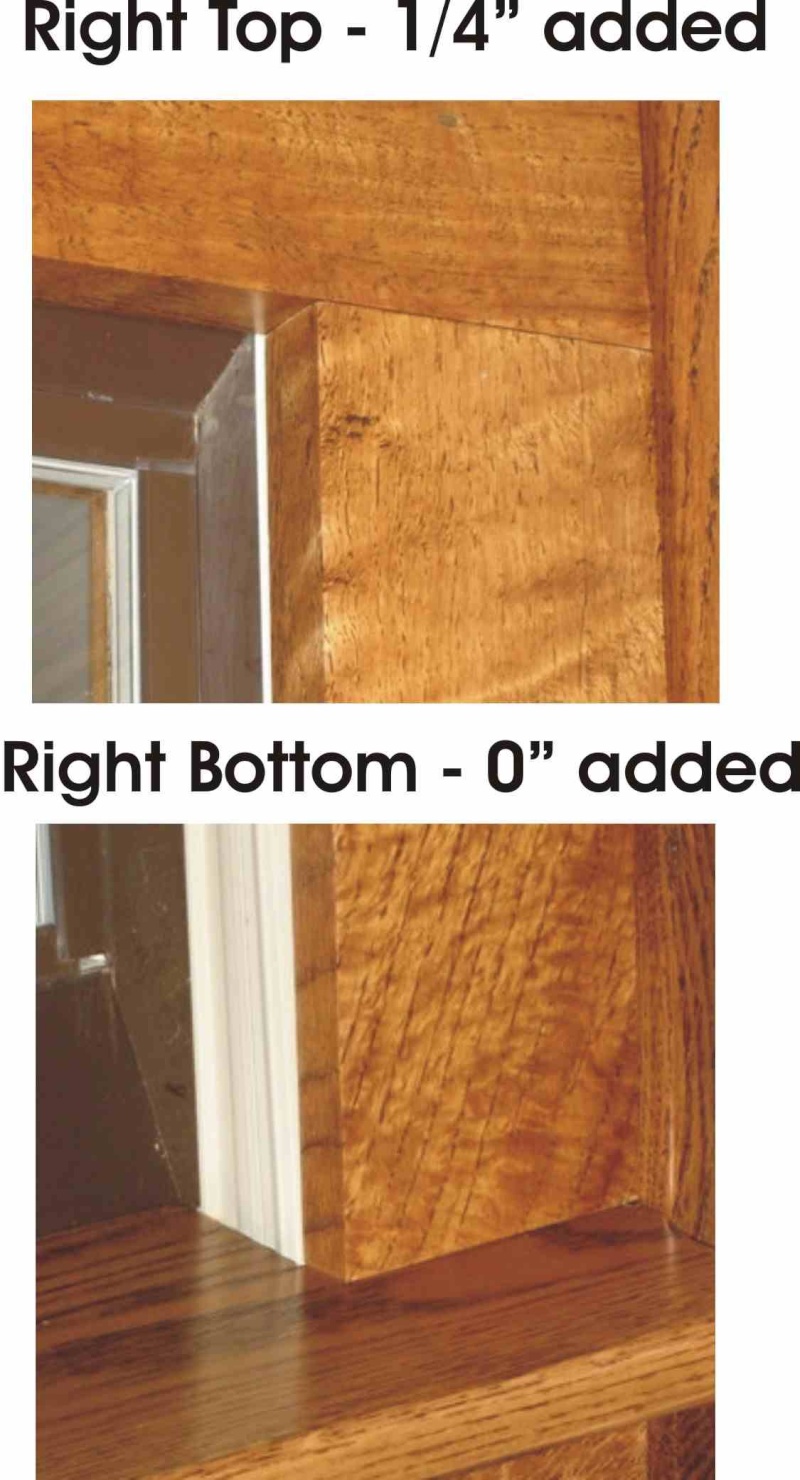
This thread was originally posted on SMC in two different threads, one in the EZ forum and one in the General Woodworking forum. I have combined the two to make things clearer.Recently I was challenged by a problem. There is a pair of double hung windows that look out into my new sun room. I wanted to replace the existing exterior trim with the same oak trim that I have done on the inside. I removed the old trim and went to install the new when I discovered that there was a gap between the sash guides and the casing. For me, this gap was not acceptable. The lower right corner was where it should be, but the top right was in about 1/4. On the left, the bottom was in 5/32 and the top 1/2. I would have to have wedges that were about 61 long with various tapers (0-1/4, 1/4-1/2, 5/32-1/2 and 5/64-3/8).
I could trim out the window as usual and then add wedges to fill the gap. This is awkward and would not give the finished look I want. I could make some one time jigs to precisely cut wedges on the table saw that could then be glued to the underside of the casing pieces. I have an aversion to one time jigs since I have a number of them scattered around the shop that have only been used once. Cutting long thin pieces like this on the table saw can be dangerous and difficult. I could rough cut wedges with the band saw and glue them to the casing pieces. Then I could either hand plane them to fit, a lot of planeing for my old hands, or make a jig or jigs
Oops, I dont like one time jigs and Im not sure I could make a reusable jig for this application.
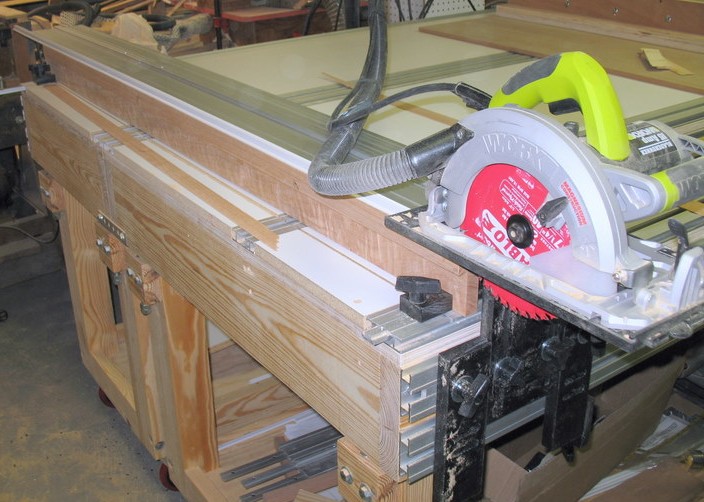
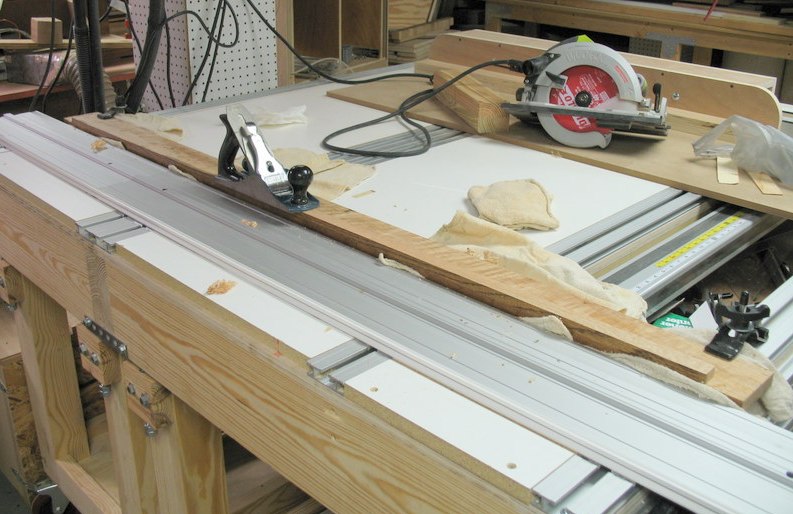
The solution was staring me in the face. I have recently built a custom PBB (Power Bench and Bridge) with the EurekaZone Bridge and rails. I rough cut the wedges from 3/4 X 1 1/2 oak stock which took about 5 minutes on the PBB. I glued them to the underside edge of the casing stock and then in about 15 minutes, set up the PBB (I had to raise the rail higher than usual - 3 1/2) and cut them. A little hand fitting with the hand plane and they will be ready to install. I love my PBB, it makes the difficult easy an safe to do.[/size][/font] The EZ Smart system does it again...
This is the setup, had to raise the bridge to 3 1/2".
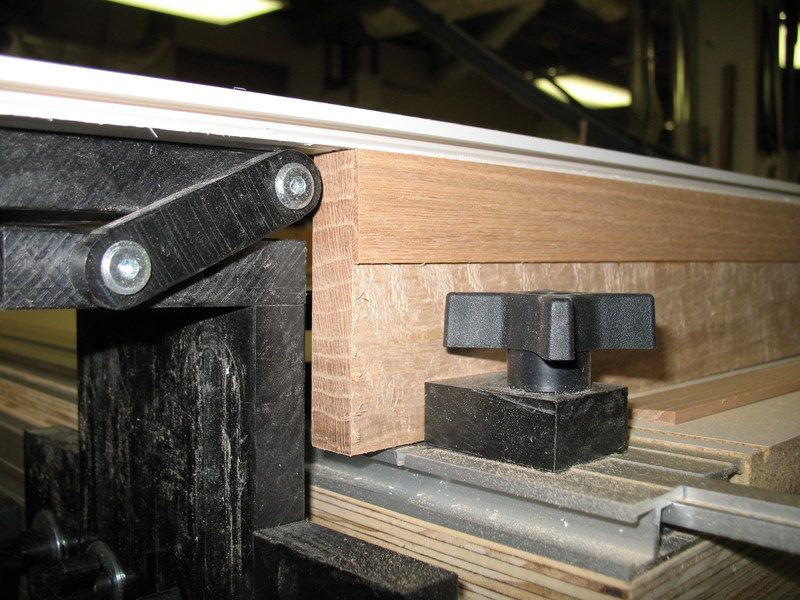
This is the narrow end (5/32" on this one).
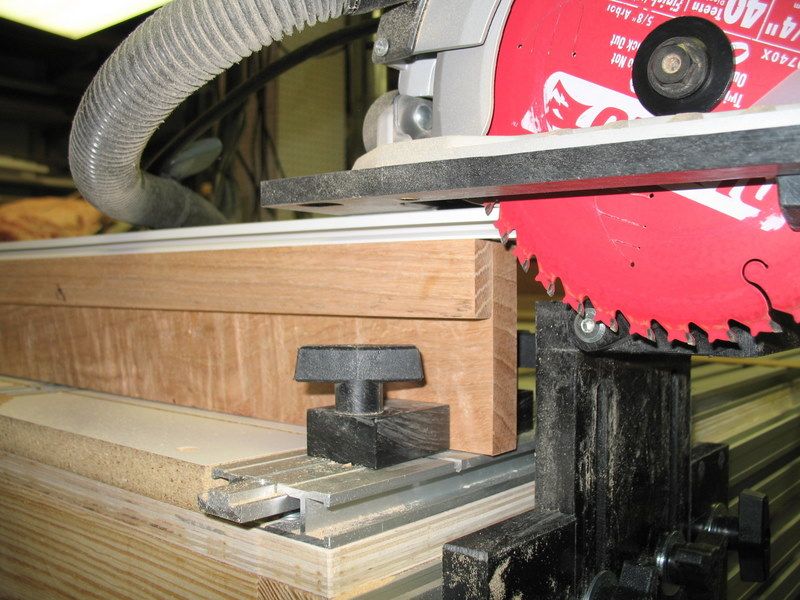
This is the thick end (1/2" on this one).
Oh, my PBB is setup in the 5'X6' configuration (rectangular rather than the 9'X6' "L" shape I had been keeping it in).
Michael Schwartz Replied:Nice use of your power bench

I find it is unparalleled for cutting tapers and custom shims.
I could make a jig to do this on the bandsaw or tablesaw

However the Bandsaw jig would yield an accurate part, but with nowhere the cut quality, and the Table saw jig would take a bit of work to be made safe.
And the jig would have to be reset or remade for each wedge.
I could cut these on my power bench, or even with just a guide rail and smart clamps and be installing them before I could even make a jig.
I am working in a shop now that has a Sawstop, and Powermatic cabinet saw, as well as a 12" Ulmia Sliding Table Saw, 20" rockwell band saw, 14" powermatic bandsaw, dewalt chopsaw, and a full complement of planers and jointers. I miss my power-bench, and in a shop full of machines, I still end up asking myself how do I cut this.
Dino Makropoulos Replied:Dik.
Nice pictures and three dimensional thinking.
You're becoming the ez monster.
Thanks for posting the pictures.
Why not posting the pictures at the Gen. woodworking forum?
The same cut sends many people
to the emergency room every day.
Never mind the wasted time and wood trying
to push the wood into spinning blades.Thanks.
Dik,
Your post is sticky at the Gen. woodworking forum.
Thanks for sharing your ideas.
http://sawmillcreek.org/showthread.php?t=69575Dik Harrison Posted:  Finally installed
 After much delay, I finally got the window trim installed today.
Set up to do final hand trimming to fit.
The finished product.
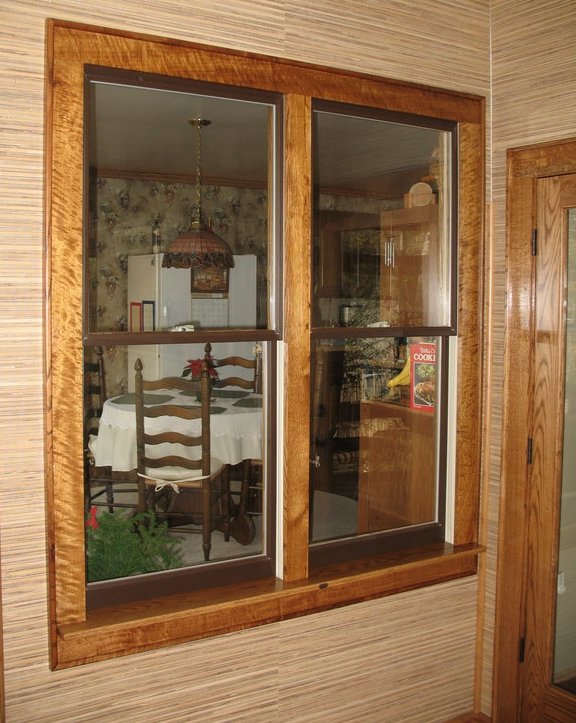
The difference between the top and bottom on the right side.