This thread was originally posted on SMC by Jason Perott. It is here with his permission.Hi,
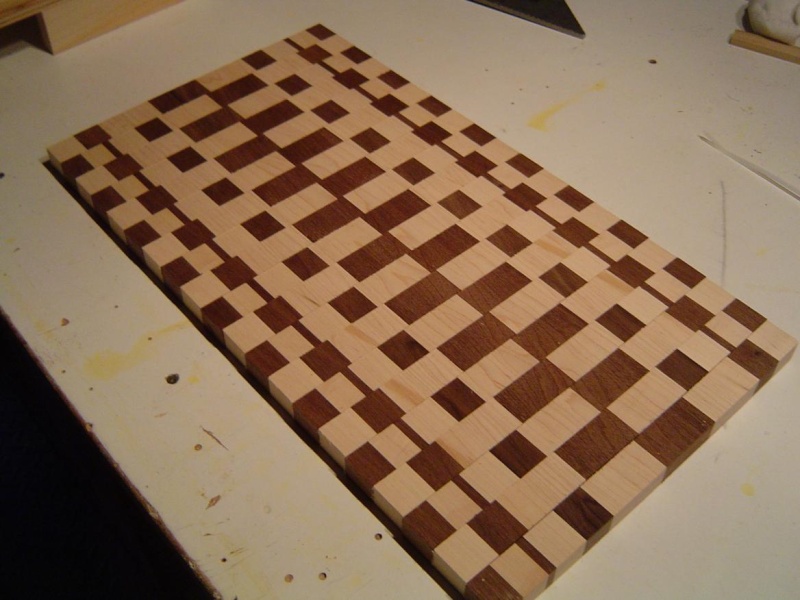
Just working on some of those Christmas presents and thought I would share.
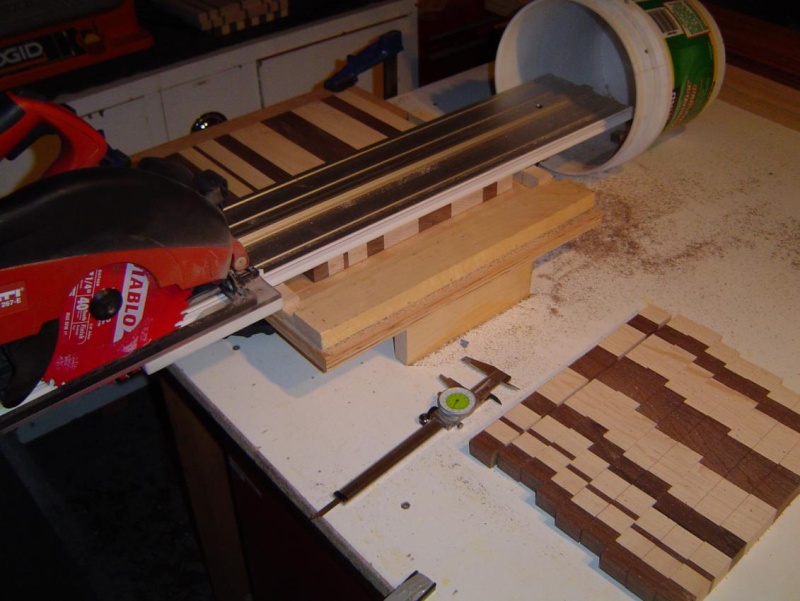
I am making a bunch of endgrain cutting boards and found a SAFE way to do all the crosscutting. I really did not want to use the table saw, or the ras, because near the end the pieces get really thin. So, I made up a quick jig to accomplish the task, a quicky power bench. Simply used scraps the same thickness as my panel to be cut up and put those under the rail, aligned the rail and the fence parallel, clamped in place with the smartclamps, and made my cuts. It was really nice not to have to worry about safety during the cutting process. happy cutting!

Jason


 Colin Wollerman Posted:Very Nice
Nice work Jason.
I don't understand the stop block(s) It looks like you have two different length options.
Also;
Type wood used-
Glue-
finish-
Post cut processing(sanding etc)-
You can't post work that nice and not share some details

C
Jason Perott Replied:Colin,
Sorry about the short version, only one cup of java so far...
The wood is hard maple and walnut, glued with titebond II.
Ran the cutting boards through my performax drum sander, then ROS.
Took about 1 hour with ROS, endgrain is HARD.
Finish will be mineral oil.
Stop blocks or Fence- used 3/4" to the right, but then added 1/2" strip so the smartbase would clear the fence, I was cutting the strips 1 1/8"
wide.
Jason
Burt Wadell Posted:Beautiful work. Also I believe you are mastering the art of "Thinking EZ"
Burt
Michael Parr Posted:How much pressure did the rail put on the work piece? Did you have to worry about the work wiggling in the jig? This jig looks really cool could you provide more information on the construction (or a picture with noting on it).
Robert Fordham Posted:I like the dust collection bucket in picture #3. Good idea to trap the spray of dust at the end of a cut.
I have begun to use a backer board whenever possible to reduce the spray at the end of cuts. It really helps especially when you have a lot of repetitive cuts.
Michael Parr Replied:
The dust collector with the Fien Turbo I works well too.
Jason Perott Replied:
Michael,
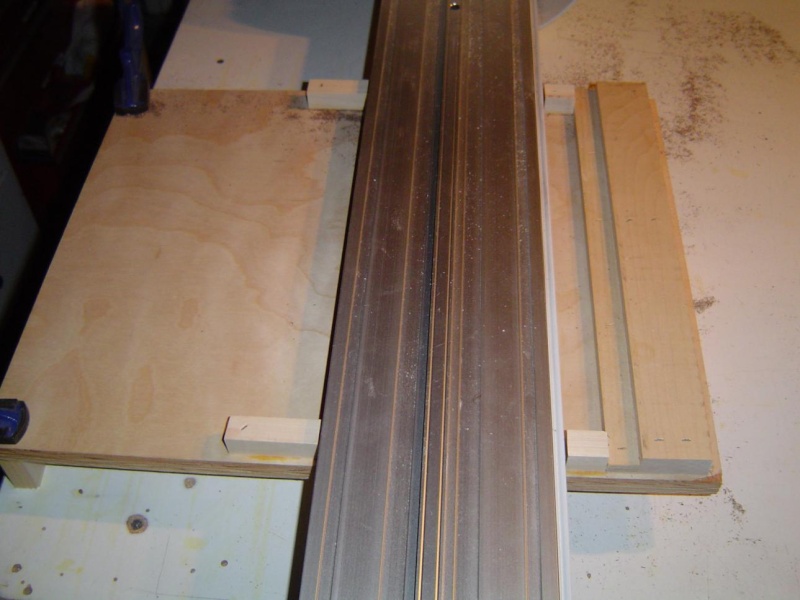
The first photo shows the jig bare bones.
The rail is supported by the two strips of wood which are the same thickness as the cutting boards, they are perpendicular to the rail, and they have no other use.
The fence on the right is the stop for making all the cuts the same width. I had to add a strip of 1/2 inch plywood for the smartbase to clear the taller 3/4 fence I originally thought would work.
Then I simply aligned the rail to be parallel with the fence at a distance of my choosing.
The whole jig is up on some 4 inch blocks so that the smart clamps have room under the jig to function, then I just clamped it down to the table to immobilize the whole operation.
The cutting board blanks slid under the rail with some amount of friction, and it was enough to hold the wood for the cuts. If you needed more friction, add some blue tape under the rail as a shim to make the wood being captured fit tighter.
Robert, the bucket actually worked out pretty well and I have used it with a shop vac hose stuck into it to help capture more dust.(I have multiple shop vacs, one on the saw and one in the bucket).
Jason
Michael Parr Replied:
Any reason why a PBB could be used in the same manner. Even if the stops could not under the rail with the bridge on it I am planning on planting an SME about 3 inches to the left and right of the rail (More for clamping items for SRK work) but I could just make a 1/2 high jig to hold the cutting piece and then use the pressure from the bridge to hold the piece down.
The only issue is the wear and tear on the bridge being moved up and down 50 times but since if we can find a way to wear out a EZ item they will replace them.
Mike Goetzke Posted:Great set-up. I was just thinking the other day that I should build a few more cutting boards - you just gave me more incentive.
Plus - now I know what to do with my extra bucket.
Mike
