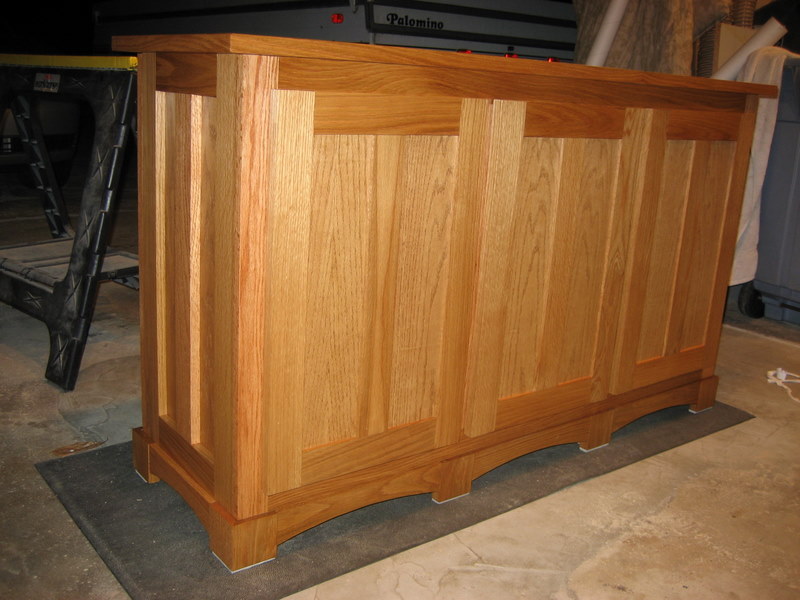
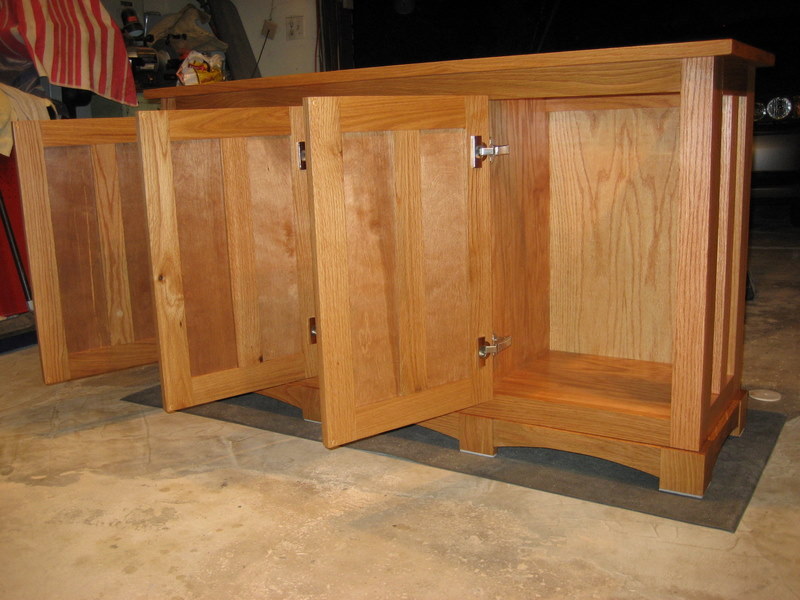
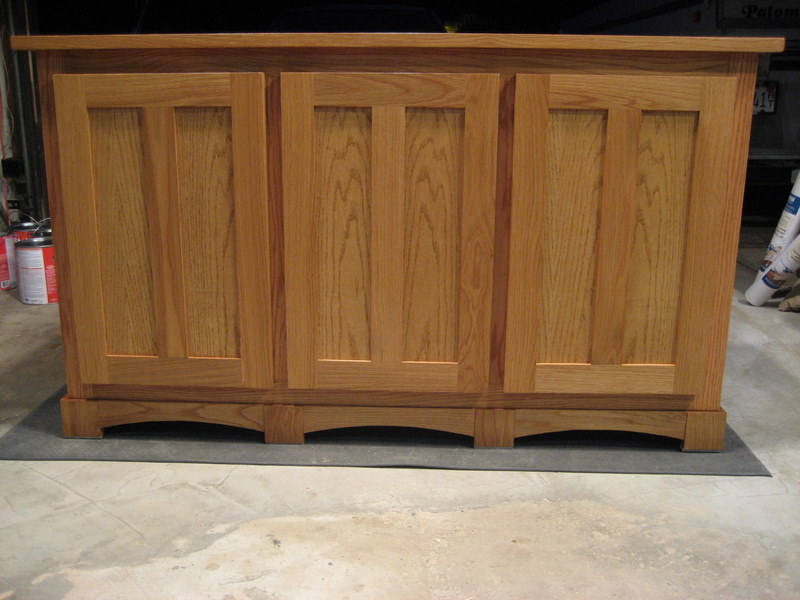
This thread was originally posted on SMC by Mike Goetzke. It is here with his permission. It was two different threads which I have combined here.I started on a hood for my sons aquarium. You my remember I posted the aquarium cabinet as my first PBB project. On the cabinet I just cut the panels with the PBB and used the TS for everything else. On this project I'm going to try to make everything on the PBB.
Here's what I've completed so far...
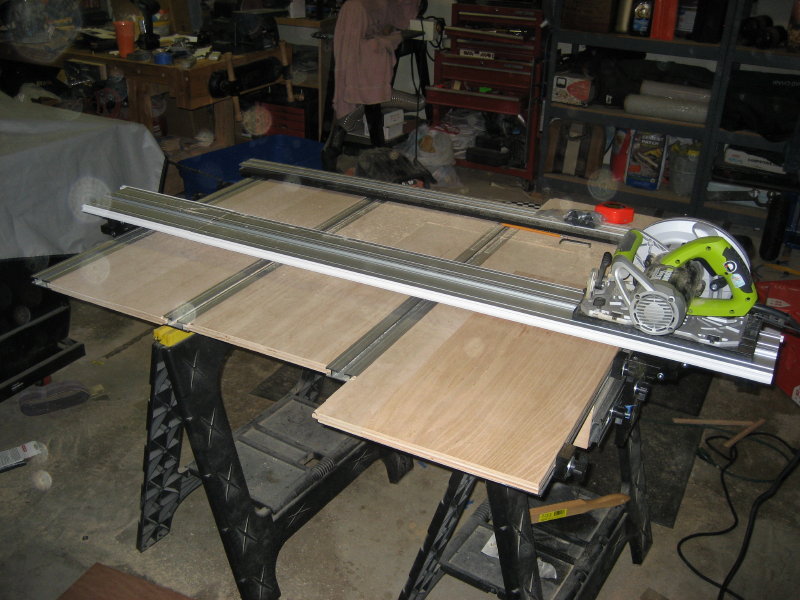
http://picasaweb.google.com/mike.goe...Hood2008_01_11 After these cuts I was thinking next time I should use my long rail and clean (or join) one end. That way I could have cross cut many pieces to size to start with. Usually I crosscut over size then cut to size on the SCMS or TS. With the PBB you really can skip this intermediate step.
...to be continued...
Enjoy,
Mike
Dik Harrison Posted:Mike,
Looking good. I really like how you are documenting as you go. I need to try to do that. I usually think of making documentary shots after the fact.
Okay, I'll bite, what is that light on the saw in the third pic?
Mike Goetzke Replied:Light...what light - oh, you must mean the laser that cuts the wood

.
Really, the saw came with that. It's an LED light system. Probably helps in low light but I like it because it reminds me when the saw is on.
Mike
Joseph N. Myers Posted:Mike,
Really nice, simple and straight forward!
So your trying to break the TS habit! Haven't used mine in some 6 months. Been tempted a couple of times but build my PBB to fit over my TS. Only take 5-10 minutes to remove it TS but so far, not worth the trouble.
Been thinking of starting a thread where one would list what tasks would be best done on the EZ System rather than the TS. I guess maybe more like "better" on TS, "same" on TS, etc. And I'm thinking that what being used with the EZ System, i.e., TS Fence with the PBB would have to be considered a factor.
Enough of thinking --- better get out to the garage and do some "doing". Especially with the 55+ weather; don't get much of that in the Philly area during the winter.
Regards, Joe
Ken Tye Posted:I really like what you have done.......the photographs make a big impact on newbies like me. I'm curious about your methods for starting a project......do you make a drawing of what your're going to build and them determine all the cuts that you will be making. At what point do you determine the measurements for each piece.
I think the hardest part for the newbies is visualizing the whole project and then separating it into each component....If you or someone else could tell us about your thought process for a project, I think that it would be invaluable.
Thanks to all who respond to the various posts.......most of us are amateurs at this and enjoy reading everything that is posted...
Mike Goetzke Replied:Ken,
"I really like what you have done.......the photographs make a big impact on newbies like me. I'm curious about your methods for starting a project......do you make a drawing of what your're going to build and them determine all the cuts that you will be making. At what point do you determine the measurements for each piece. "I'm not proficient with any cad systems so I usually start with a rough hand sketch - in pencil w/ eraser in hand. Then once I'm satisfied I transfer the design to grid paper to scale. I'll usually make front, rear, side, top...etc. views and detail things like doors on another page. I number the individual components and make a list of the quantity, material, size, and description. On most projects small changes or additions are usually required - not that I make any mistakes. There are computer programs to input you pieces and they generate a cut list but I find it quicker to lay it out on the boards w/ chalk (so I can change it) because I use a lot of rough sawn lumber and need to avoid the unusable areas.
I would suggest since you are new that you look at some of the woodworking magazines and build something that has already been drawn - this is great experience. I personally purchase WOOD magazine.The biggest thing is you just have to get out to the shop and work at it.
I learn lots from these forums and from my projects and especially from my mistakes and problems I run into.
For example on the subject project:
1) I found about half way through my cuts that my blade wasn't 90 to the table. I caught it in time since it's one of thethings I've learned to check regularly.
2) I showed in a photo "gang" cutting similar length components. I thought about it and found you need to be careful because if you have a slight taper in you rip cut or if the board bows slightly after the cut the error will multiply if you stack them.
3) I need to find a better/quicker way to set the rip fence.
4) I have seen several designs/methods but I'm still trying to think of the best way to set up my cuts with some sort of stops - especially for those times that the finished piece is hidden
under the bridge.
I just finished gluing up all of my panels and doors for the project and wasn't 100% satisfied with the fit of the pieces (even though squirting a little glue in the gaps and sanding over the wet glue works great). I was even saying to myself I could have done better on the TS, jointer, and SCMS. But, then I thought this project looks tons better that my first set of panels and doors I did before I got the EZ-stuff. And most of the fit problems were operator error - lack of experience. By the end of milling my parts on my PBB I really had the thing tuned up and gained confidence in using the tool.
Joe,
"So your trying to break the TS habit! Haven't used mine in some 6 months. Been tempted a couple of times but build my PBB to fit over my TS. Only take 5-10 minutes to remove it TS but so far, not worth the trouble." It was really fun (most of the time) and challenging to break away from the conventional tools and only use the PBB. I just bought a Uni with a 50" Biese about 1-1/2 years ago. It's built like a work station with a cabinet/router in the wing. So not ready to give it up. If I discovered the EZ-equipment earlier I might have kept my smalled footprint TS since I up graded to the Uni mostly to get a bigger table top for lagre panels. "Been thinking of starting a thread where one would list what tasks would be best done on the EZ System rather than the TS. I guess maybe more like "better" on TS, "same" on TS, etc. And I'm thinking that what being used with the EZ System, i.e., TS Fence with the PBB would have to be considered a factor." That's an excellent idea. Like so far the PBB has been excellent for cross cutting my solid oak components and cutting plywood panels to size, but, if I were working on an expensive piece of furniture I don't yet trust the PBB for ripping solid wood with the rip fence since it has to be set at two ends. I know some have made tables w/ a commercial fence but I feel you might as well use the TS then (if you have one).
Joe - thanks for the comments.
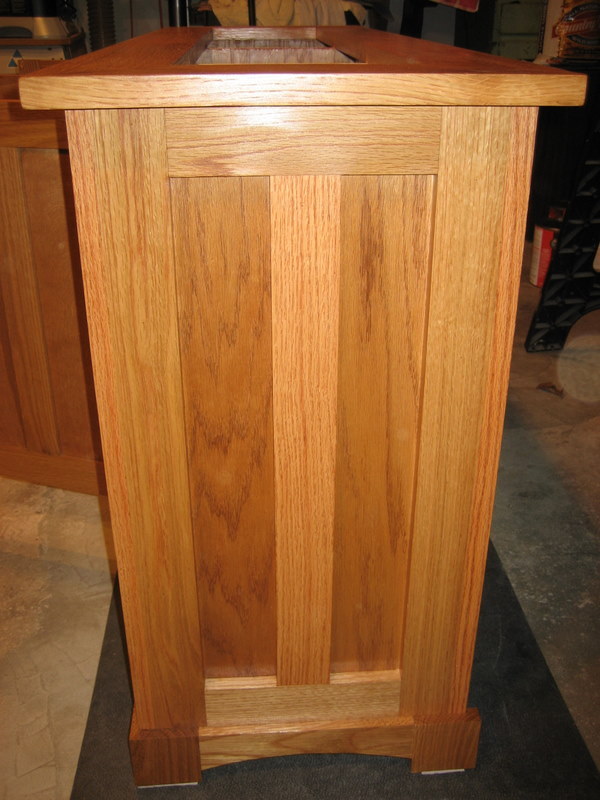
Project 99% finished....
http://picasaweb.google.com/mike.goe...AquariumCanopy ...only things left are to apply door hinges, and apply stain/finish.
If I were to do it over having access to all my tools I think the only thing I would have done differently would be to rip the solid oak rail/stile and face frame strips on my TS. Otherwise - very impressed with the PBB. One nice thing working in a space limited garage/shop is I didn't have to move things around to take out my jointer, then put it back and take out the SCMS, then the TS, .... oh then find out I forgot to join an end on a board and have to do it all over again. The PBB is a very simple but cleaver tool.
This was really a fairly simple project I mean EZ-project
.
Thanks for looking.
Dik Harrison Posted:  Great job
Mike,
Looks real good... Since it is going to be in a humid environment, what kind of finish are you going to use? Polyurethane?
Mike Goetzke Replied:Yes, poly, but, most of the top of the tank is covered and back of the canopy is open. I also need to enclose a light in the canopy.
Mike
Peter Quadarella Posted: I like the pics showing how you made the mods to your saw for dust control. Having the hose come out the front like that must be much less of a pain (since mine comes out the back it
tends to get in the way.
herb fellows posted:"With the PBB you really can skip this intermediate step."
peanut butter and banana sandwiches?? Poor boy's baseball? peruvian ball breaker? Panamanian base ball??
Peter Quadarella Replied:Not to be facetious, but isn't that a little like going to the CNC forum and asking what it stands for? Besides being discussed in every other thread in this forum, 2 of the top 3 stickies are entitled:
PBB2550 in action
Custom power benches (PBB) by the ez guys.
Also, this thread is 4 months old

.
Nick G. Marchione Posted:Mike,
Thanks for taking the time to photograph and post your project. Very nice.
By the way, I like your use if the Wixey to check for flatness and square! Has that been working well for you? Has it been accurate and dependable? I plan to purchase the Wixey caliper, and now I might spring for the angle finder, too. (My birthday is this Sunday, and I've been dropping "subtle" hints to wife, family, friends, mailman, etc.)
Be well,
Nick
Mike Goetzke Replied:
The Wixey works well. Now that I have an 8-1/4" bladed saw I can zero the gauge on the workpiece and then attach it to the blade w/ the integral magnets to make sure it's 90.
Hey, be careful I think Sunday is someone elses day
.
Mike


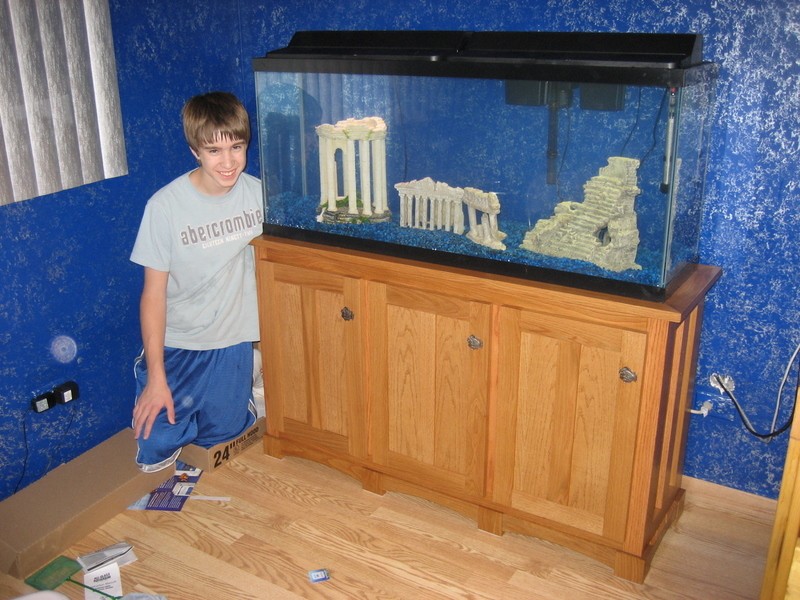

 In addition to your stand being attractive, it looks very sturdy. An nice peace of mind. Plus, it was a collaboration between you and your son. That's probably the best part especially when showing it off.


