With some parts supplied by Dino, I modified my B-200 to my version of the B-300. Some old repeater arms were modified to become the hinge arms. The long arms are 12" long and the short arms 4 9/16". I used the previously drill and rabbeted ends by drilling the holes out to fit the existing pivot screws, and then drilled (on the drill press) and rabbeted (with the SRK) the other pivot areas. The rabbets are 3/16" deep and 13/16" long on the ends and 1 1/16" for those in the middle of the long hinge arms. The pivot holes are 4" on center.
The short hinge arms replace the hinge arms on the bridge half that has the long rail mounting platform. The long arms replace those on the bridge half with the short rail platform. On that bridge half, I moved the lower pivot holes 1/2" from the original holes toward the edge of the lower part. This was to permit the rail to rest flat on the table.
I attached a piece of UHMW between the lower ends of the long hinge arms to tie them together and provide a place to grab when raising and lowering the rail. Eventually I will probably mount a handle (dowel) to the UHMW as a handle.
I have about a 10' rail, but think I need to increase the length by about 12" so I will have adequate parking areas on both ends for the saw.

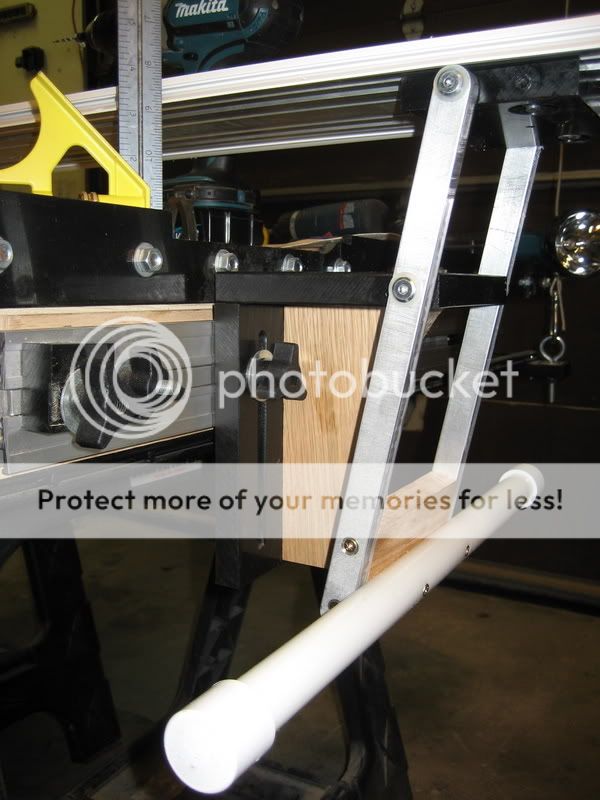
The long hinge arm end in the totally down position. Note that I have changed to a continuous wooden squaring stop rather than the UHMW blocks that I used previously. I may eventually follow Dino's lead and use a piece of SME, but don't have any laying around that I want to sacrifice.

The long hinge arm end in the parked position, slightly past TDC, so that it will stay up. Note that the end of the arms are against the bridge base, so it act as a stop.

The short arm end in the down position.

The short arm end in the parked position.
I really like the added height since my long rail tends to sag, thus making it difficult to slide material under the old version. Now I don't have any problem. If I were to replace the three rail sections with just two, I might reduce the sag, but that will have to wait for financing.
Dino Makropoulos Repiled:Nice Job Dik. As usual.

Few notes for a trouble free B-300.
Next is to make provisions for an air cylinder.

I think, I forget to send you the nylon washers

 Dik Harrison Replied:Thanks Dino
 Actually, there is still plenty of room in the mounting bolt slots, I cannot raise the bridge higher because it pushes the rail mounting block above the table surface, so when the bridge is all the way down, the rail is too far above the surface. I cut a fair amount of thin stock so I need the rail to be all the way down. As it is, I get just over 2" of clearance between the rail and the table which is more than enough for most of what I do.
No, you didn't include any nylon washers, but so far it seems to work just fine. I have the pivot bolts fairly snug. From your pic, did you add an angle block in the middle to help support the "L"?
Burt Wadell Posted:Dik,
That 3" capacity is the only way to go. I've some of mine at that height since day one.
Burt
Dino Makropoulos Replied:From your pic, did you add an angle block in the middle to help support the "L"?I don't remember if the picture shows the support block.
The final product was delivered with the support.
I have the B-300 back at the ez shop for few extra modifications.
I will post few more pictures tomorrow.
The first $5.000.00 PBB. The infeed table is 12'-00" long.
No other tool was up to the task and the ez come thru again.

Every 48" cross cut is $200.00 savings to the Company.
 Mike Goetzke Posted:
 Finally got around to a B-200 to B-300. Some comments for those wanting to do the same.
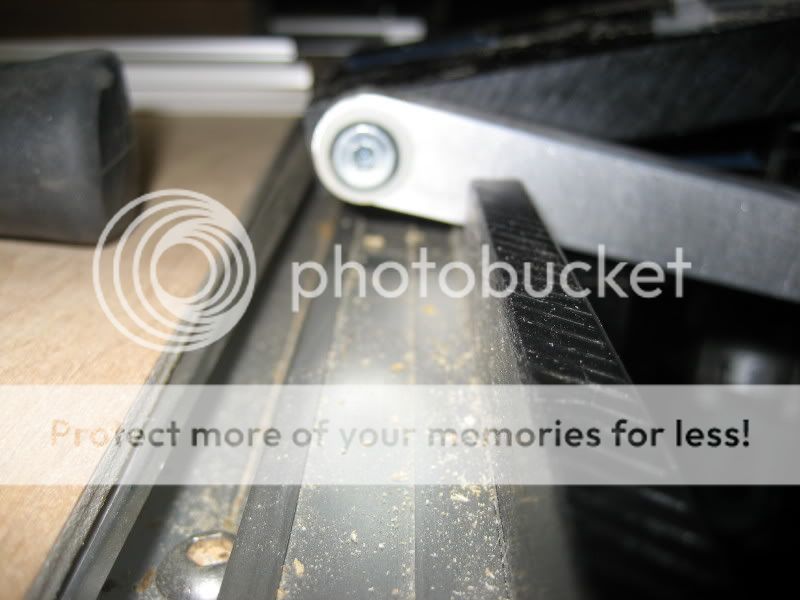
Found out why Dik swapped some parts to get his to work - notice how the new hinge bar over hangs the table top:
I did it a little different than Dik. I took the top piece of the top bridge and turned it into the horizontal bottom piece and moved the short original bottom piece into the new top/rail piece. Ideally the top UHMW should be 6-7" long but mine was short so I counter-bored the holes and used washer/nut instead of a knob.
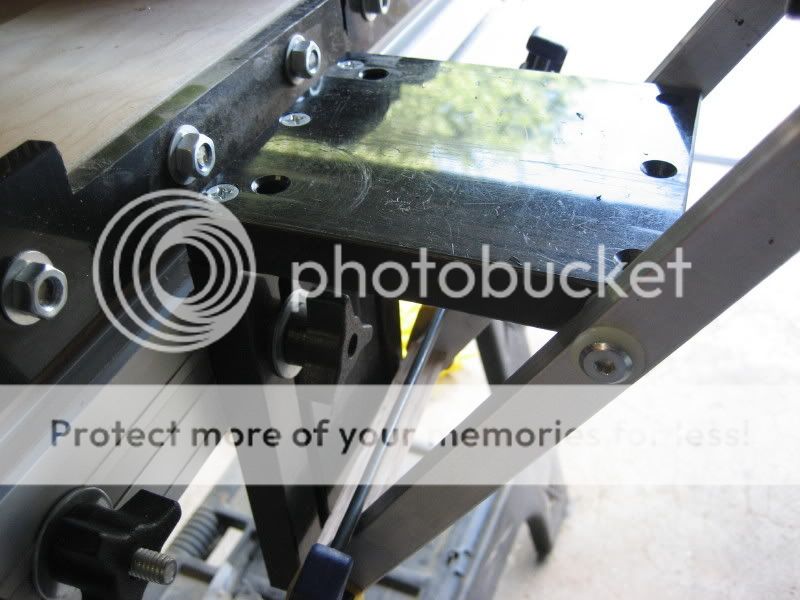

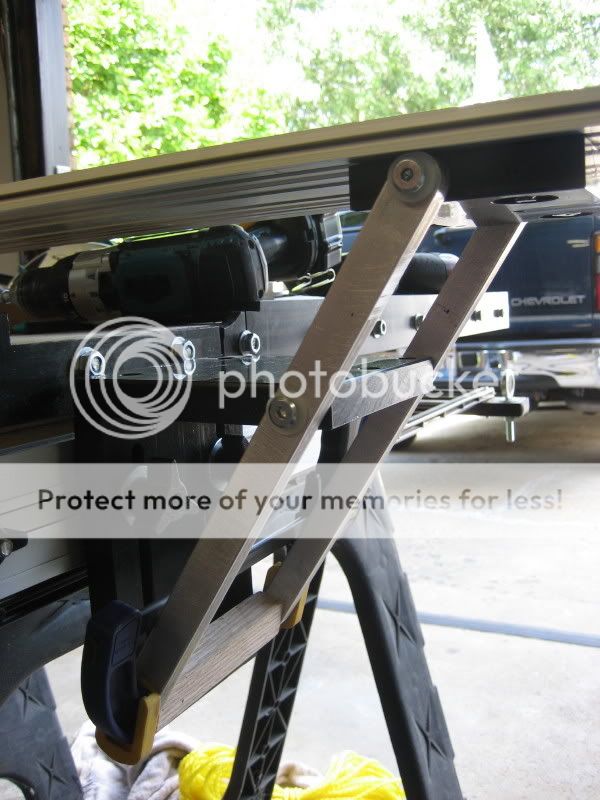

This B-300 is the cats meow!!!
(I centered the holes 4" so I get a little over 3" height.)
Dik Harrison Replied:That's great Mike,
I like your solution. I assume that it keeps the top platform from hitting the table top completely. Mine still pushed against the table top when cutting very thin stock. I'll have to make your modification. Thanks for the better idea.
Mike Goetzke Replied:
Dik - this is a shot with 1/8" stock - as you can see, my stop fence has a relief just below the rail:

Looks like a 5-1/2" long block on the bottom and 7-1/2" or 8" on the top. The longer block on top will allow the use of the knobs (which I don't really think is necessary). With the longer bottom horizontal block I see why Dino suggests a center gusset.
Mike
Burt Wadell Replied:'Sure is interesting how we all solve the problems a little differently. Like Dik I wantd mine to lay flat on the table. I shortened the piece that mounts on the bottom of the cutting rail on the end with the handle. I then added a spacer between the table and bridge. This spacer moved the bridge back enough so that the rail lays completely flat on the table. We often cut formica.
Like Mike, I'm enthusiastic about the B300. By adding a long handle, I am able to use it with extensions attached to the PBB.
Burt
Dino Makropoulos Replied:Funny. At least 5 guys that i know of (from posting here) come up with 5 different solutions to the same problem.
I ended up making two holes on the bottom plate in order for the 2 studs from th connectors to drop inside the two holes.
The benefit is that we don't need a large plate now (where the two connectors go) and we can keep the prices under contol.
The good news is that the b-300 uses the same amount of HDPE even with the brace.
The only problem going from the B-200 to the B-300 is that we need a new larger plate on one of the bridges in order to have 3"+ clearance that I found it perfect for many reasons, ( Burt was right again)
The easiest way to upgrade the B-200 to the B-300 is to get a whole new B-300 and send the B-200 back to eurekazone.
The upgrade cost is $75.00 including the handle and one way shipping. It was going to be less but with only 2" clearance.
The intro price of the B-300 is $220.00
I'm hoping to post all the details by next week.
Mike Goetzke Replies:The benefit is that we don't need a large plate now ( where the two connectors go) and we can keep the prices under contol.
The good news is that the b-300 uses the same amount of HDPE even with the brace. Dino - From all the benches I have seen it looks like you could easily shorten the vertical plate for the bridge (the one with the slots) by quite a bit. Especially with the 3"+ capacity of the B-300 w/4" hinge center spacing I can't see a need/nor is there a circ. saw capable (at least that I know of) that can cut through the max depth of 8-9". I'm actually thinking of adding a plate to my bridge with closely toleranced holes so I can set my bridge once and be able to remove it and re-apply it without needing to adjust it for rail/table top parallelism. No need to move the bridge assembly up and down now that we have 3" capacity. The B-300 has made this possible (at work they would call the B-300 the "enabling" technology

).
Also, don't know if you caught it in my other post but is there a reason not to have a 4-1/2" hinge bolt spacing? I made mine 4" and found this gives just over 3" clearance. If it were about 1/2" larger
you guys with the monster (10" +) saws could cut a 2x4 on end w/o moving the bridge.
Mike
Burt Wadell Replied:Mike,
I was about to make the same suggestion and then I remembered that Dino wants to be able to angle the rail for bevelcuts.
Burt
Dino Makropoulos Replied: Dino - From all the benches I have seen it looks like you could easily
shorten the vertical plate for the bridge (the one with the slots) by
quite a bit. Mike,
This is the beveling plate.
You can bevel bridge rail and saw to make slots at the edge of the wood with your saw.

I was thinking to make it even bigger but we can always tilt the saw and cut with the blade at 180.

Now, this is "enabling". I like that.
The Enable ez? The spacing is 4" with 3-1/2" capacity without re-seting the bridge.
What was your words with the very first cut?
 Mike Goetzke Replies:The spacing is 4" with 3-1/2" capacity without re-seting the bridge.
Dino - If I line up the bridge bottom plate with the table top and try to have the top plate just touch it at the min. setting I get only about 3-1/8" capacity with a 4" spacing. If I'm looking at it right, you basically loose half the thickness of each plate the hinge mounting screws go into (assuming the holes are centered on the half thickness line). This would be around 3/4" for the B-200 plates...is this right?
Mike
Dino Makropoulos Replied:Dino - If I line up the bridge bottom plate with the table top and try to have the top plate just touch it at the min. setting I get only about 3-1/8" capacity with a 4" spacing. If I'm looking at it right, you basically loose half the thickness of each plate the hinge mounting screws go into (assuming the holes are centered on the half thickness line). This would be around 3/4" for the B-200 plates...is this right?
Mike,
Monday....
 Mike Goetzke Replies:
Mike,
Monday... ?...
OK another thought, is there enough room on a connector for you to mill a pocket for the end of a hinge and use a pin or roll pin to attach the hinge? This would give more capacity and eliminate the upper UHMW plate.
Mike
Dik Harrison Replied:Mike,
I've been toying with that same idea. I think it could open up all kinds of possibilities...
Mike Goetzke Replies:Just a couple more pics of the finished B-300:
Gusset/Stiffener/Handle Stop
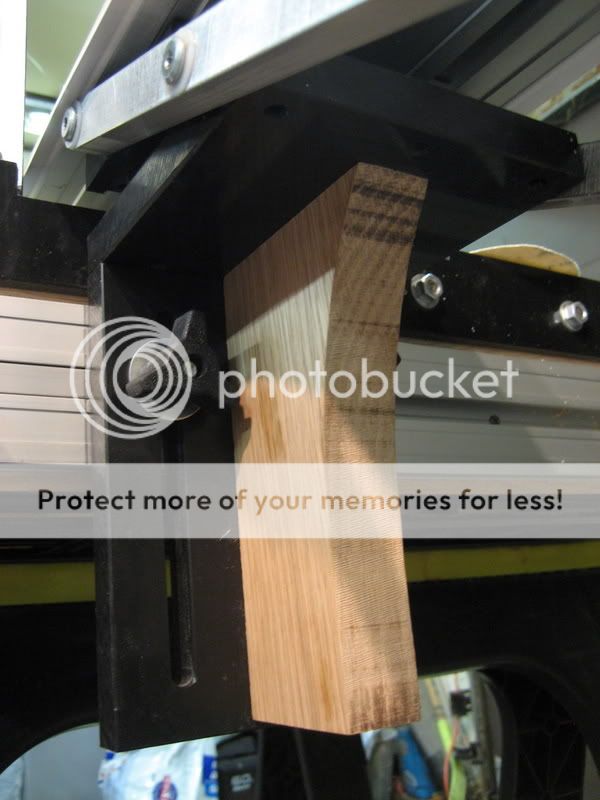
Closed/Down

Up/Open
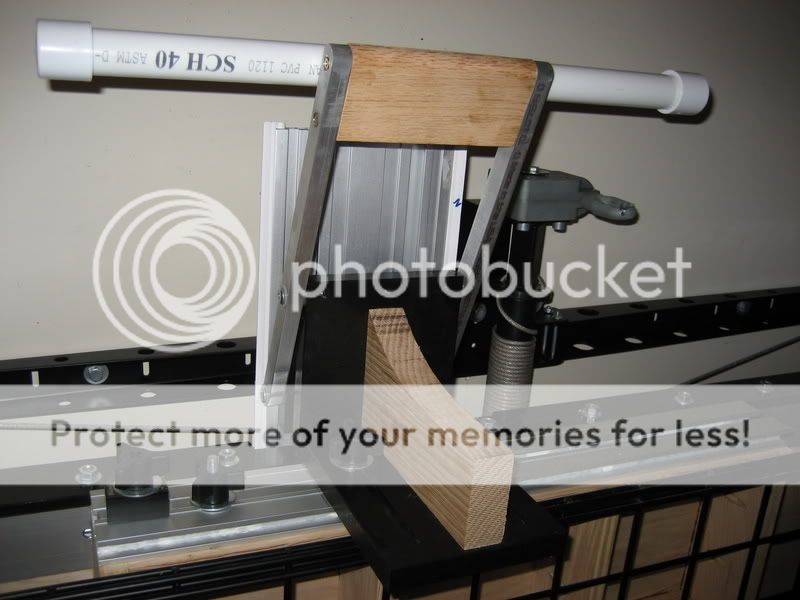
Max. Lift

Worm's eye view
Now I'm ready to furnish my daughter's bedroom

.
Randel Stevenson Posted:Your PVC pipe handle, (if I missed it, sorry) have you filled it with anything? (sand lead, etc) That may help it act like a weight to stay in the down position. You would just have to play with it, to figure out how much wouldn't interfere with it in the up position.
Mike Goetzke Replies:
Your PVC pipe handle, (if I missed it,
sorry) have you filled it with anything? (sand lead, etc) That may help it act like a weight to stay in the down position. You would just have to play with it, to figure out how much wouldn't interfere with it in the up position. No - the handle is empty. Actually, I have seen a few post of some suggesting springs and weights like yours. I was thinking the same at first, but, this thing works great without any more messing with it. The only thing I did was design the bridge stiffening gusset to stick out far enough to act at a stop for the handle. I made it to let the handle arm just pass center so that it stays upright on it's own and have max. lift (one thing I didn't like with the B-200 hinge design was that it would sometimes jump too far over center and not give max. lift).
Mike
