This thread was originally posted on SMC.The bulk of this project was done pre-EZ. I am now using my PBB to finish up the cabinet, so I thought I would post the process and gloat little. Since I'm trying to keep a running log of the project on my
Blog, I'll post there and post replies here when something is added.
My previous thread (
Setup to rout cabinet door lips) was the first installment on this project. I have added an animation from the SketchUp drawing of the cabinet showing various features of the cabinet.
And today I posted how I setup to complete the tambour from parts that I milled pre-EZ.
Burt Wadell Posted:Dik,
That is some beautiful work. You really can't appreciate That unless you've done it.
Burt
Dik Harrison Replied:Thank you Burt, now I just need to get it finished, which always seems easier said than done...
Later,...
Everything is stained,
But I couldn't sleep last night, so I did a little animation of the assembly of the cabinet. If you are interested, take a
look.
Craig Mitchell Posted:That's very impressive work..... great animation too!!!!
Dik Harrison Posted:Finally installedI finally got the cabinet installed today. There a bunch of pics posted
here, here are a few.
 Andres Cuevas Posted:
Good jobVery nice!!!
Mike Goetzke Posted:Dik - very nice. I like the animation too -wish I could do that. How did you mill the tambor slats - router bits? Any pics?
Mike
Dik Harrison Replied:The tambourMike, I used a bit set and wire kit from
Eagle America, but
Rockler has similar bits as do other retailers, I'm sure.
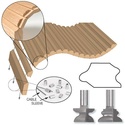
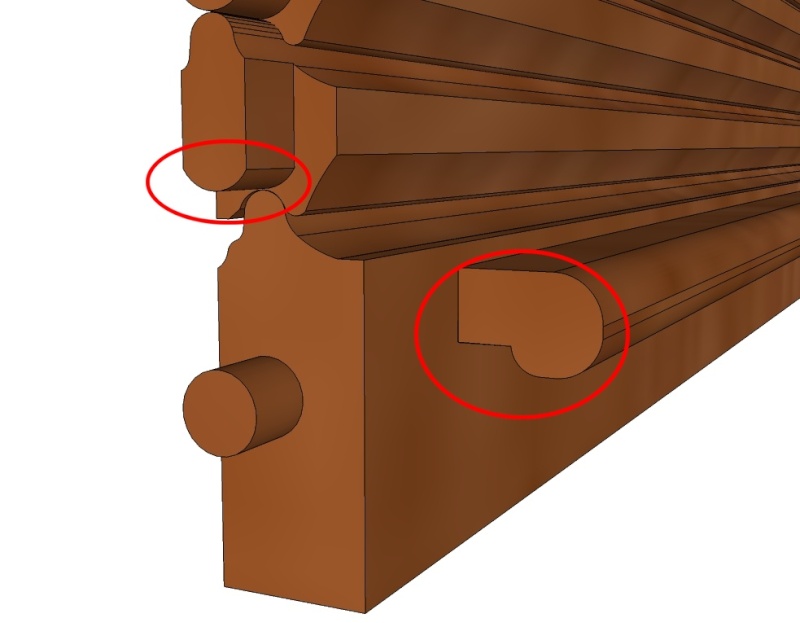
Unfortunately, the slats were milled before I started documenting the process. I made mine with 5/8" stock, but probably should have gone with 3/8", due to the weight. It is a bit heavy for the LOML. This was done before I entered the EZ world, so I did them on my old router table setup. I can see where a SRK set up as a router tunnel would be ideal for milling tambours. As I indicate in my Blog, I did use my custom PBB to gang cut the tambour slats to length and to rout the guide pins on the ends. For the pins, I made a pass with a 1 1/2" bottom cleaning bit on each side of each end so that the pin was centered on the slat.
The first cut to get a clean end.
Setup to make the pins.
The first of four passes to mill the pins.
The holes for the cable were made 6" in from the end on one of my bench-top drill presses. The handle for the tambour was made on the router table with three different radius bits. To reduce friction and binding, I hand rounded-over the concave end of the pins with a rasp and sand paper.
 Mike Goetzke Replied:
Thanks for the details. Is there a possibility to add a counterweight to help lift the door (like a window).
Mike
Dik Harrison Replied: I guess I could try adding some weight to the back slat.